
How to Do a 4-Lug to 5-Lug Conversion on a Nissan 240SX (S13 & S14 Guide)
Upgrade your Nissan 240SX from 4-lug to 5-lug with this complete guide for both S13 and S14 models. Includes tools, parts list, and step-by-step instructions.
Upgrading your Nissan 240SX from a 4-lug to a 5-lug setup is a popular mod for better wheel options, brake upgrades, and an OEM+ or performance look. Whether you’re building a drift car or just want to run wide 5-lug wheels, this guide will walk you through everything you need to do a 4-to-5 lug conversion on both the S13 and S14 chassis. S13 and s14 hubs are not compatible with each other, there are differences with hub compatibility.
 Why Convert to 5-Lug?
- Opens up wheel selection (more aftermarket and OEM options)
- Allows you to upgrade to Z32/350Z brakes
- Improves resale value for many buyers
- Looks cleaner and more aggressive
 What You’ll Need (S13 & S14 Differences Noted)
Here’s your parts and tools checklist. We’ve included Amazon affiliate links to help you grab what you need quickly.
 Front Conversion Parts (S13/S14):
OEM or aftermarket 5-lug front hubs S13 Front 5-Lug Hubs – Amazon (affiliate)
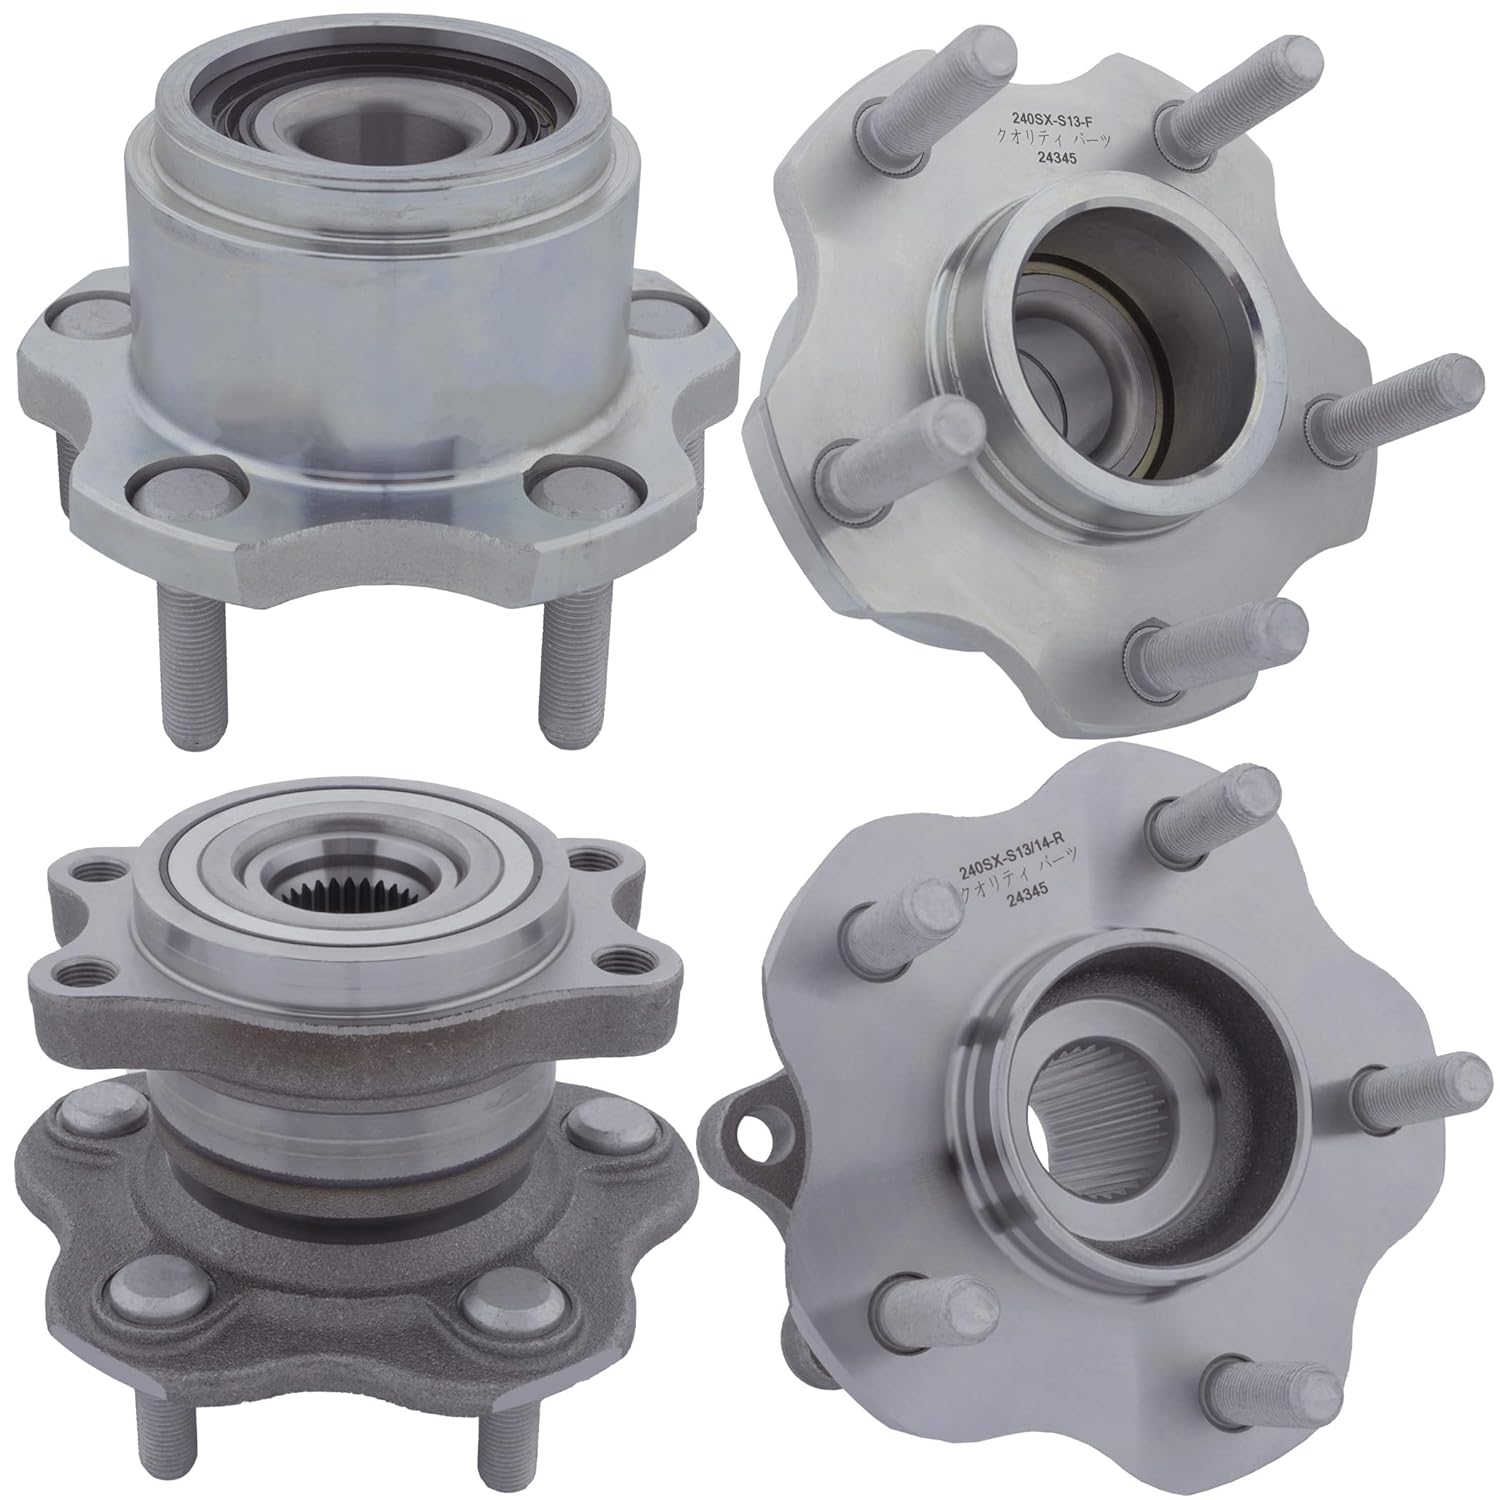
- S14 Front 5-Lug Hubs – Amazon (affiliate)
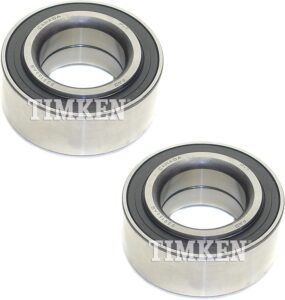
- Front wheel bearings (if not included) Most kits come with bearings in them, if you just need to replace your already 5 lug hub with new bearings.
 Timken or Moog Front Bearings – Amazon
Rear Conversion Parts:
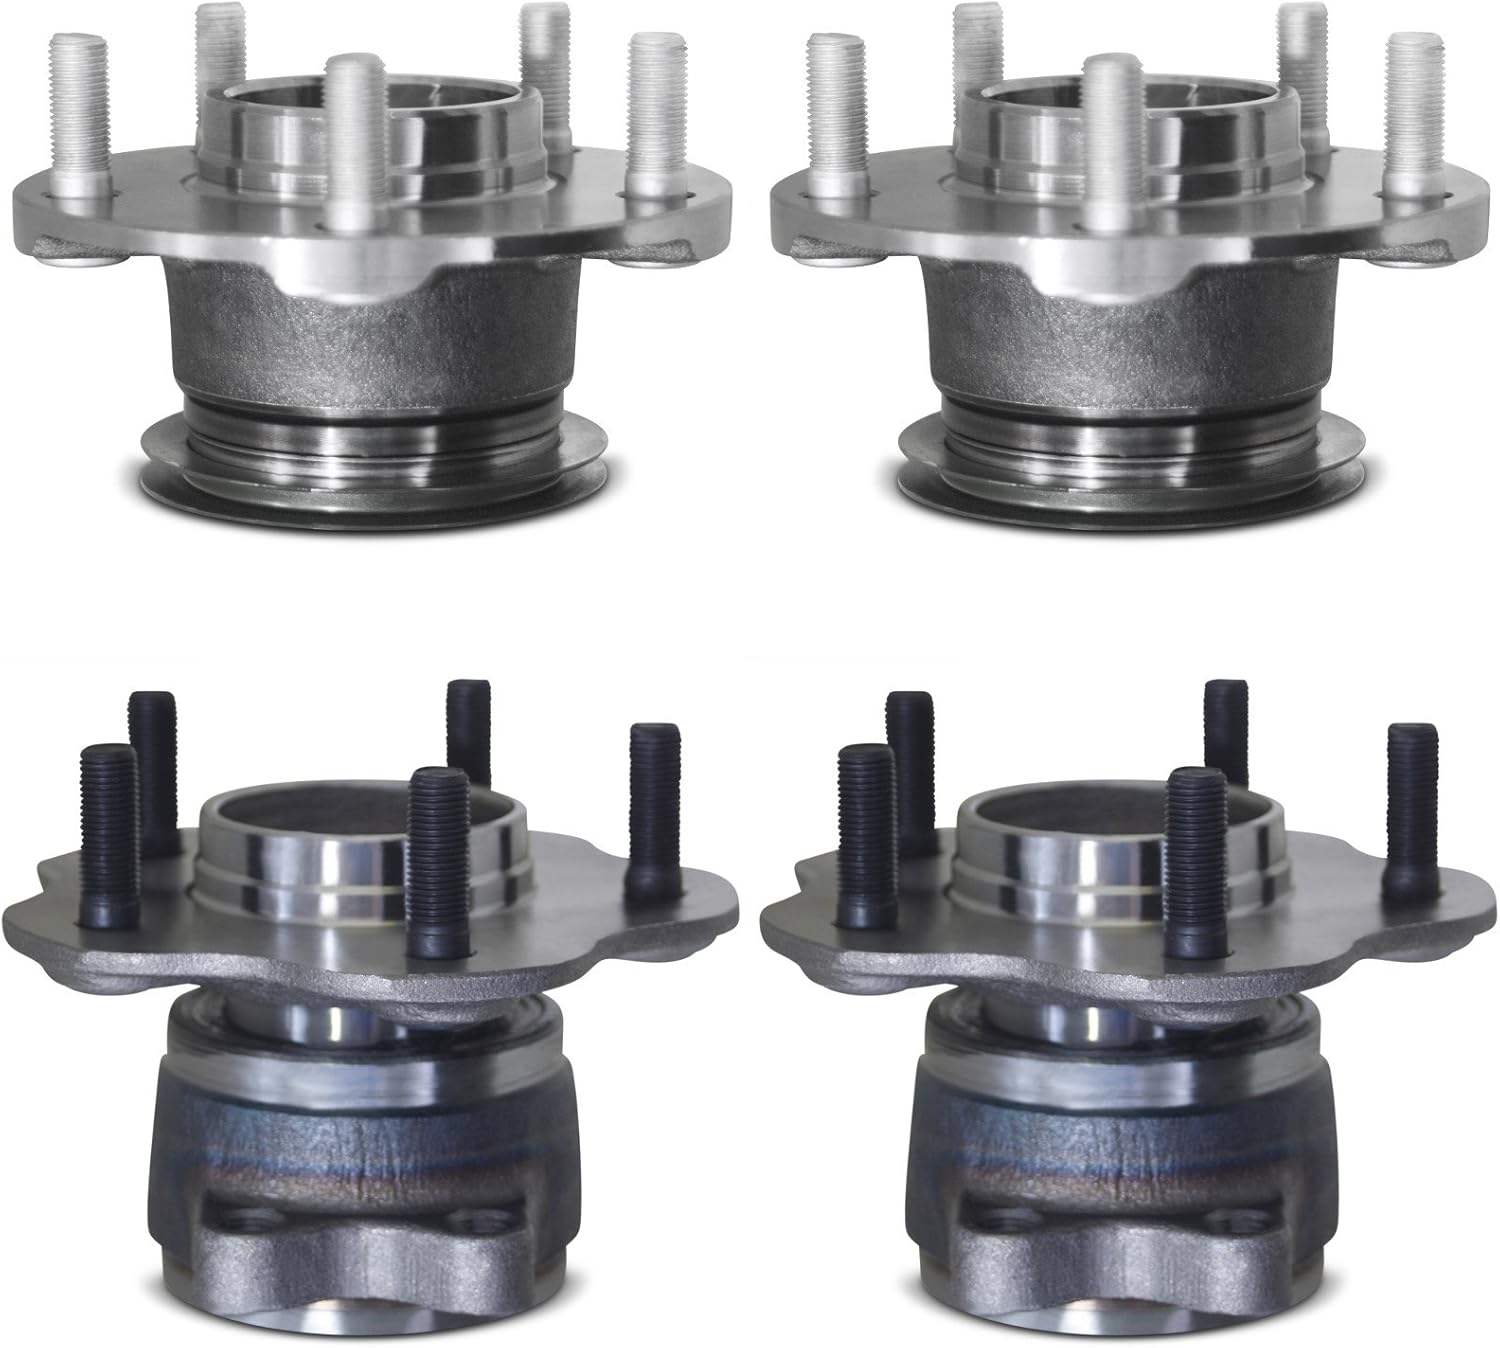
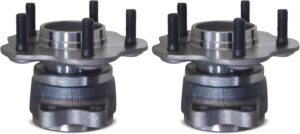
- Rear 5-lug hubs (OEM S14 or aftermarket) Rear 5-Lug Hubs – Amazon s13 and s14 1989-1998 rear hubs are both compatible.
 Tools You’ll Need:
- Breaker bar + torque wrench Torque Wrench Kit – Amazon

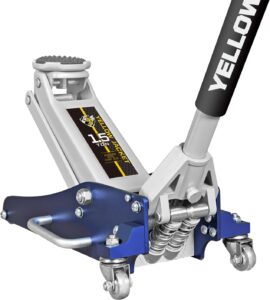
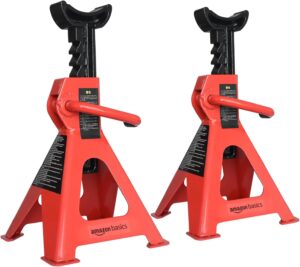
- Jack + jack stands Low Profile Jack – Amazon – Please remember whenever working near or under a 240sx or any vehicle, please use jack stands properly. Jack up from a jack point, slide the stand under a secure point, and slowly lower the jack till the 240sx rests on the stand. You can keep the jack under along with the jack stand for added safety, another helpful tip is to take your wheel and slide it under a structurally sound spot just for a last resort.
 Step-by-Step Instructions
Front 5-Lug Conversion (S13/S14)
- Jack up the front end and secure it with jack stands.
- Remove the front wheels.
- Remove the brake caliper and rotor. Hang the caliper to avoid strain.
- Remove the hub nut with an impact or breaker bar.
- Pull off the stock 4-lug hub. You may need a puller or hammer.
- Install your 5-lug hub and torque the hub nut to factory spec.
- Reinstall the rotor and caliper.
- Double check everything is torqued and spin the wheel to test.
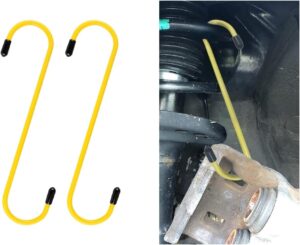
Affiliate Note: Recommend a caliper hanger or bungee cords here. Never let the caliper hang down on it’s own, the shear weight along can potentially damage your brake line and you will not notice it till you push on your brakes and it begins to leak causing a safety risk. Please use a bungee or buy these super cheap hangers.
Rear 5-Lug Conversion (S13/S14)
- Jack up the rear and secure with jack stands.
- Remove the rear wheels, calipers, and rotors.
- Unbolt the axle nut (use a breaker bar or impact).
- Remove the 4-lug hub and bearing. This might be pressed in — use a slide hammer.
- Press in or bolt on your 5-lug hub + bearing.
- Torque the axle nut, reinstall rotor and caliper.
 Tip: On S13, you may need to swap in S14 rear knuckles or aftermarket ones for bolt-on compatibility.
 Final Checklist
- Torque specs checked?
- No rotor scraping?
- Re-bled brakes if needed?
- Wheels torqued to spec?
Once you’re done, you’ll be able to mount any 5×114.3 wheels — including OEM Z32, 350Z, or wide aftermarket options.
 Conclusion
A 5-lug conversion on a 240SX is one of the most rewarding mods you can do. Whether you’re building for track or street, it gives you more options and a stronger setup. Be sure to use quality hubs and torque everything to spec, and you’ll be set for the next stage of your build.

More Stories
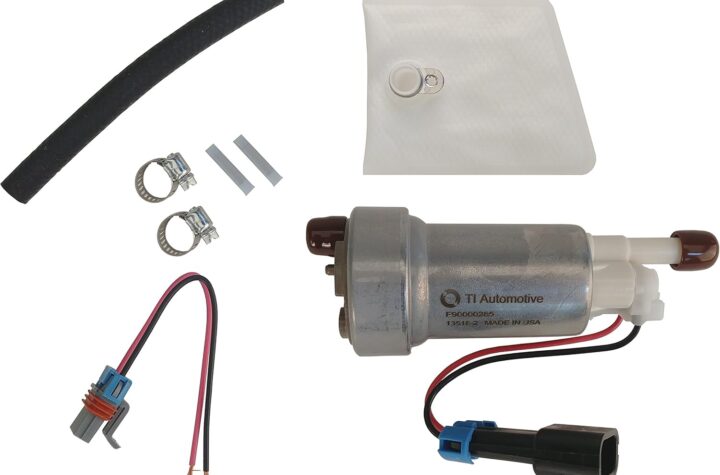
Best Fuel Pumps for the Nissan 240SX – Pick the Right One for Your Power Goals
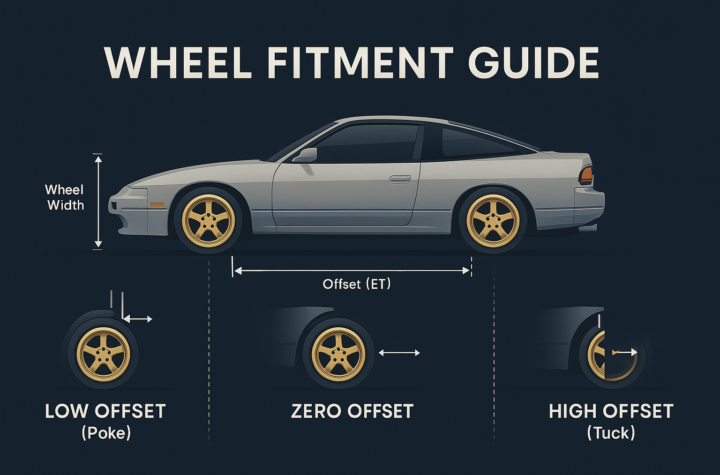
240SX Wheel Fitment Guide (S13 & S14) – Offset, Spacers & Fender Rolling Explained
Is the Nissan 240SX a Good Drift Car? (S13 & S14 Drift Guide)