240sx shifter Replacement
One of the easiest and most rewarding mods for any Nissan 240SX owner is swapping in a short throw shifter. Not only does it give a more direct and precise feel, but it also shortens the throw between gears—perfect for daily driving, track use, or drift setups.
In this DIY guide, we’ll walk you through the process of installing an aftermarket short shifter in your S13 or S14, with affiliate links to quality parts and tools you can get on Amazon.
Looking to upgrade your shifting experience? This step-by-step guide shows you how to install a short throw shifter on your Nissan 240SX S13 or S14. Improve performance for under $100!
🔧 Tools and Parts Needed
- Phillips & flathead screwdrivers
- Socket wrench set (10mm, 12mm,)
- Needle-nose pliers
- RTV sealant or gasket maker
- Shop towels or rags
- Aftermarket short throw shifter kit
- Optional: New shifter bushing (polyurethane recommended)
👉 Recommended Short Shifters on Amazon:
- 🔗 ISR Performance Short Shifter for Nissan 240SX S13/S14
- 🔗 Megan Racing Short Shifter Kit – S13/S14
- 🔗 Circuit Sports Solid Shifter Bushing
- 🔗 Replacement Dust Boot Cover
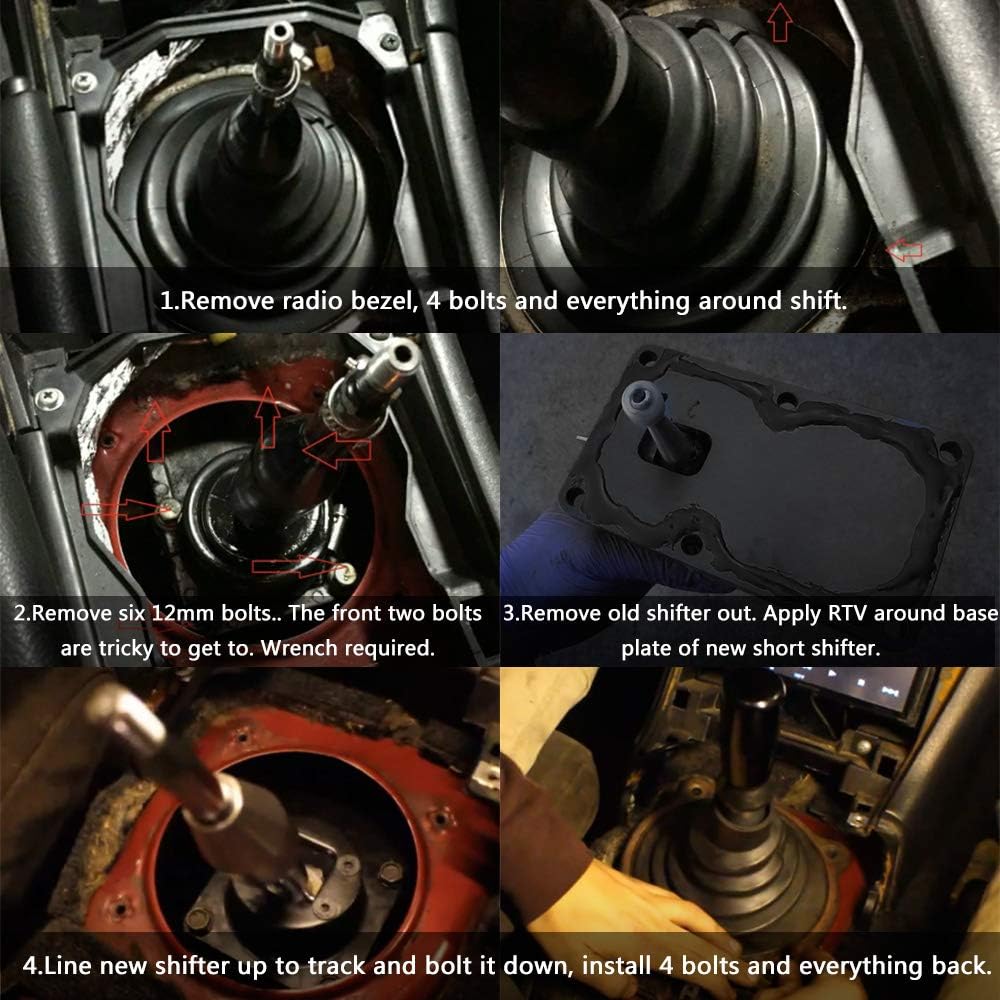
🛠️ Step-by-Step Installation Guide
Step 1: Remove Interior Trim
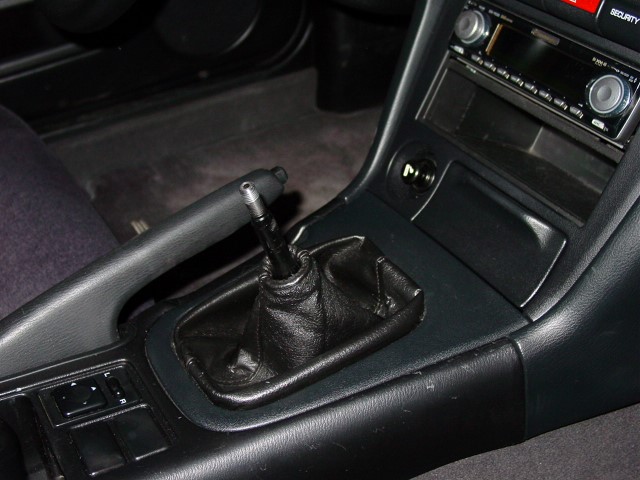
- Remove your shift knob by twisting it counterclockwise.
- Carefully pop off the center console trim and remove any screws holding it down.
- Lift the center console out of the way to access the shifter base.
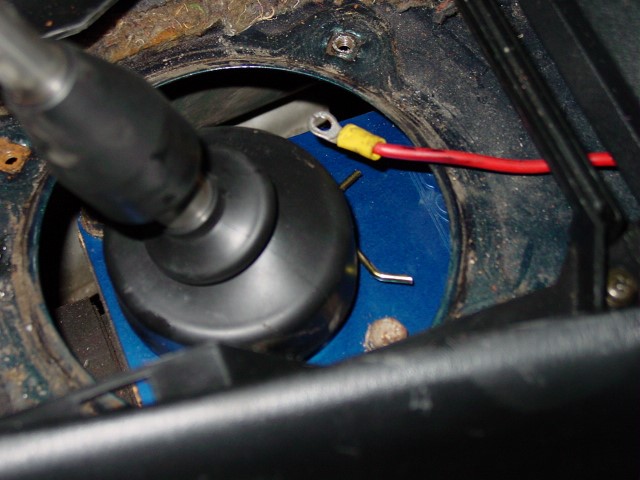
Step 2: Remove OEM Shifter
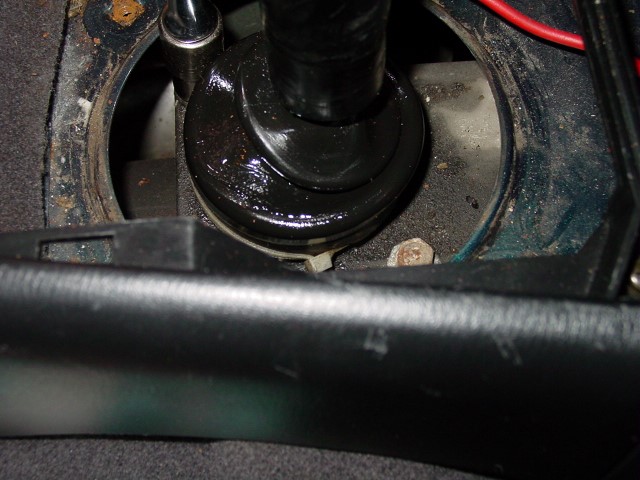
- Remove the rubber boot and insulation to reveal the shifter.
- Unscrew the four 10mm bolts holding the shifter plate.
- Pull the OEM shifter straight up. If it’s stuck, twist it gently while pulling.
Step 3: Clean and Prep the Area
- Wipe away any old gasket material or debris.
- If you’re installing a new bushing, pop out the old one with pliers and press in the new polyurethane bushing.
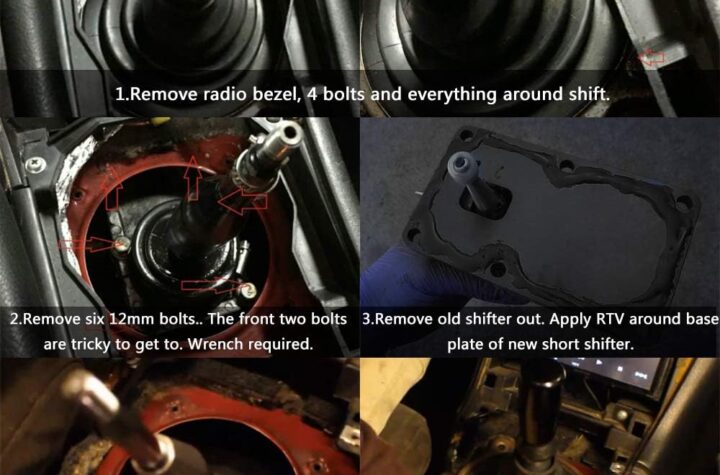
Step 4: Install the New Short Shifter
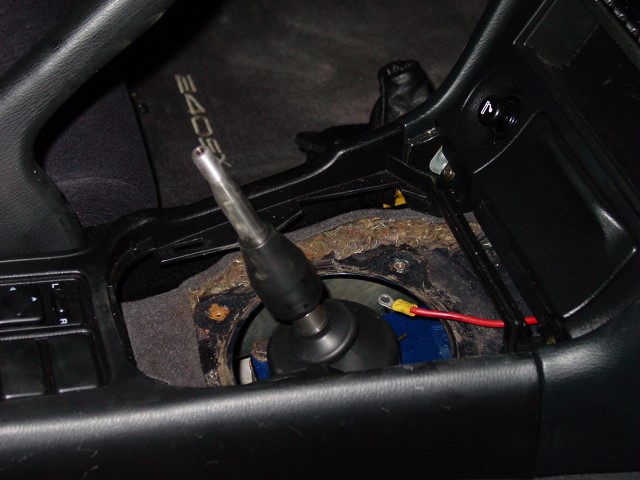
- Apply RTV sealant around the base or use the supplied gasket.
- Drop in the new short shifter into the housing, making sure it seats into the shift linkage.
- Reinstall the shifter plate and torque the bolts to around 12-14 ft-lbs.
Step 5: Reassemble Interior
- Reinstall the insulation and rubber boot.
- Bolt the center console back in place and reinstall your shift knob.
⚙️ Driving Impressions
Right away, you’ll notice a much tighter, sportier shift feel with a noticeable reduction in throw length. Pairing this mod with polyurethane bushings makes the shifting feel even more precise—perfect for spirited driving.
✅ Conclusion
Upgrading to a short throw shifter is a must-do mod for any Nissan 240SX enthusiast. It’s inexpensive, takes about an hour, and makes a huge difference in driver feel and feedback.

More Stories
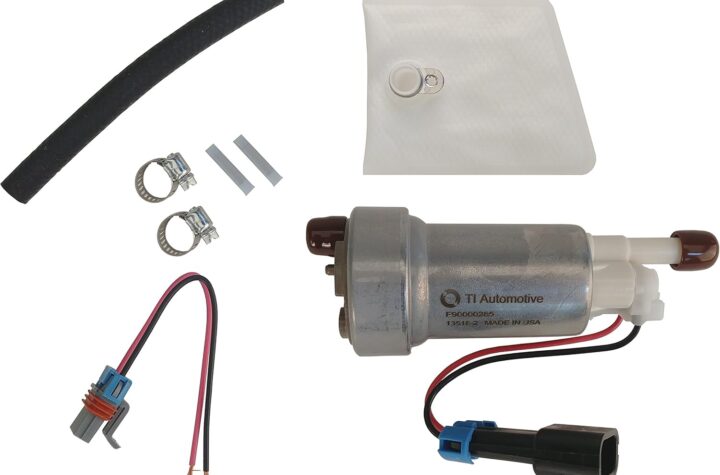
Best Fuel Pumps for the Nissan 240SX – Pick the Right One for Your Power Goals
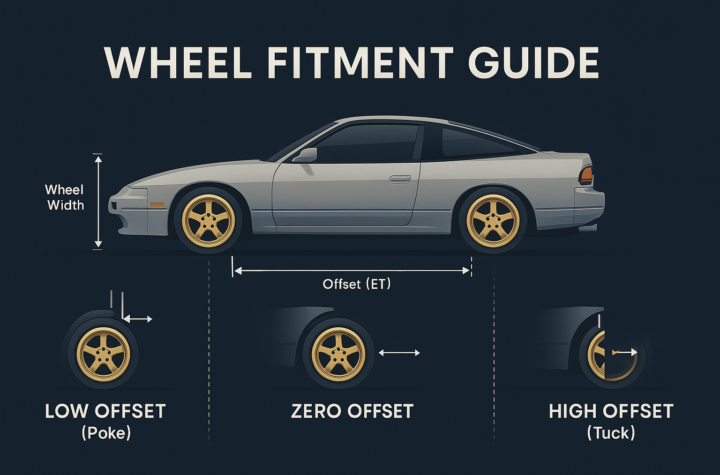
240SX Wheel Fitment Guide (S13 & S14) – Offset, Spacers & Fender Rolling Explained
Is the Nissan 240SX a Good Drift Car? (S13 & S14 Drift Guide)